CalDAV Support
Overview
CalDAV is a protocol that allows you to access a remote calendar, much like IMAP allows you to access your email. The calendars themselves are stored on the server, so you can access them from multiple locations without having to sync back and forth.
Each Viabit email account has at least one calendar, called calendar-default, configured automatically.
Clients
For PCs, the best standalone client is Mozilla Thunderbird combined with the Lightning extension.
Apple users have the Calendar application.
Most smartphones also come with a calendaring application that supports CalDAV.
If you use Outlook, you will need the Outlook CalDAV Synchronizer plugin. The first step is to download the plugin from that site, and to install it by running "setup.exe". (There was a presentation about this plugin at FOSDEM 2017.)
Once you've got it installed, restart Outlook, and you should see a new toolbar or ribbon from which you can choose "Synchronization Profiles" and "General Options." Visit the "General Options" first, and check the "disable certificate validation" box.

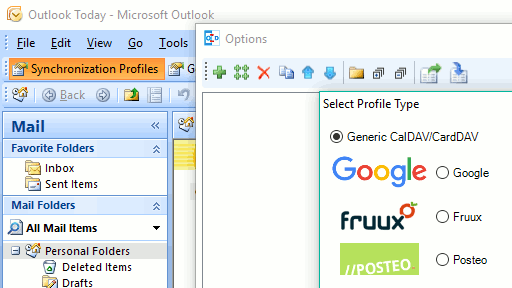
Next, hit "Synchronization Profiles", and then the green plus sign to add a new one. Choose the (default) generic CalDAV/CardDAV.
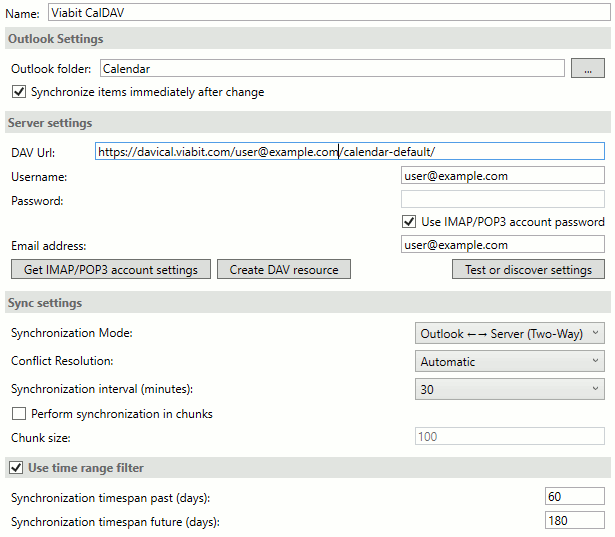
Now, enter your settings. The values for everything are listed below, on this page. The choice of "Outlook folder" is where you can find the resulting calendar. Below, it is set to the top-level "Calendar" folder, which means that the new CalDAV calendar will be my main calendar.
Calendar Settings
The only settings you should need to access your calendars are their URLs. They all follow the same scheme:
https://davical.viabit.com/<email_address>/<calendar_name>
So, for example, to access the default calendar for the address user@example.com, the URL would be,
https://davical.viabit.com/user@example.com/calendar-default
When you access the calendar, you will be asked for a username and password. Use the same credentials as you do for your email.
Creating New Calendars
You are free to create as many calendars as you like. The simplest way to create a new calendar on the server is through the AgenDAV web interface, mentioned above. Once you have created the new calendar there, it will be available to other clients as,
https://davical.viabit.com/<email_address>/<calendar_name>
So, you can then add it to Thunderbird, Calendar, or your smartphone using that URL.